1. 搭建
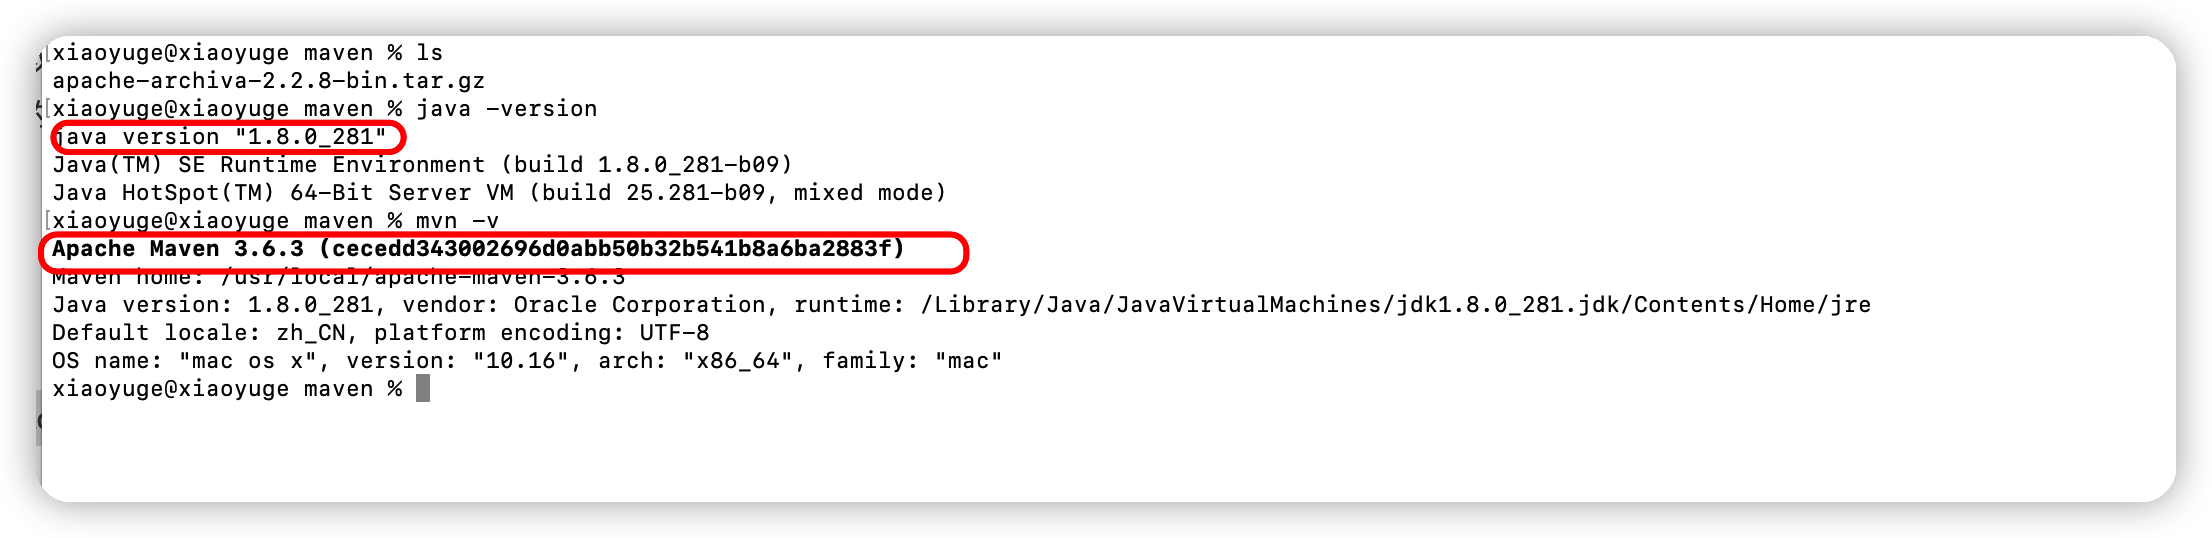
环境准备
- JDK 1.8
- Apache Archiva 2.2.8
- Apache-maven 3.6.3 ( https://maven.apache.org/download.cgi )
Apache Archiva安装文件下载
1
2
3
4
5
6archiva官网地址:https://archiva.apache.org/index.cgi#a
下载地址:https://archiva.apache.org/download.cgi (这个太慢了,几K/s,坑)
镜像仓库:https://mirrors.tuna.tsinghua.edu.cn/apache/archiva
建议从镜像仓库拉取!!!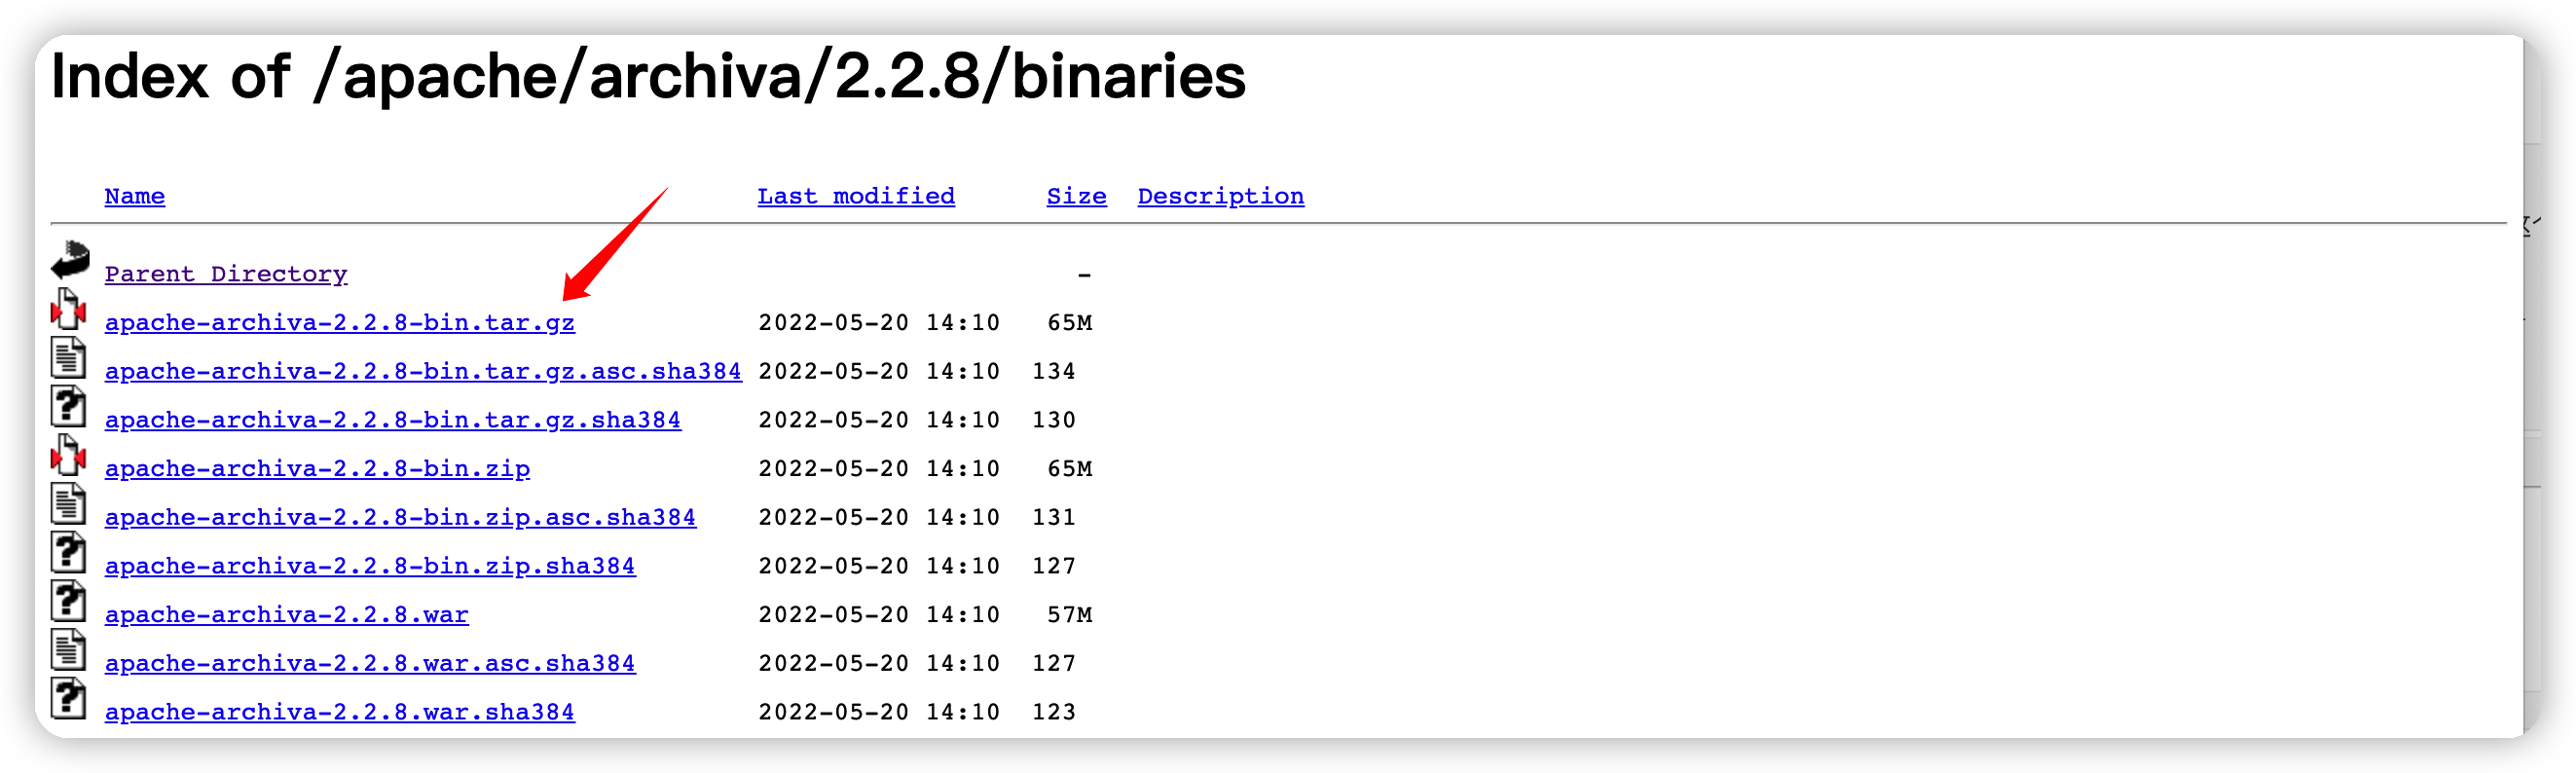
将下载的tar.gz包上传到服务器相应位置
解压tar.gz包
1
2
tar -zxvf ./apache-archiva-2.2.8-bin.tar.gz
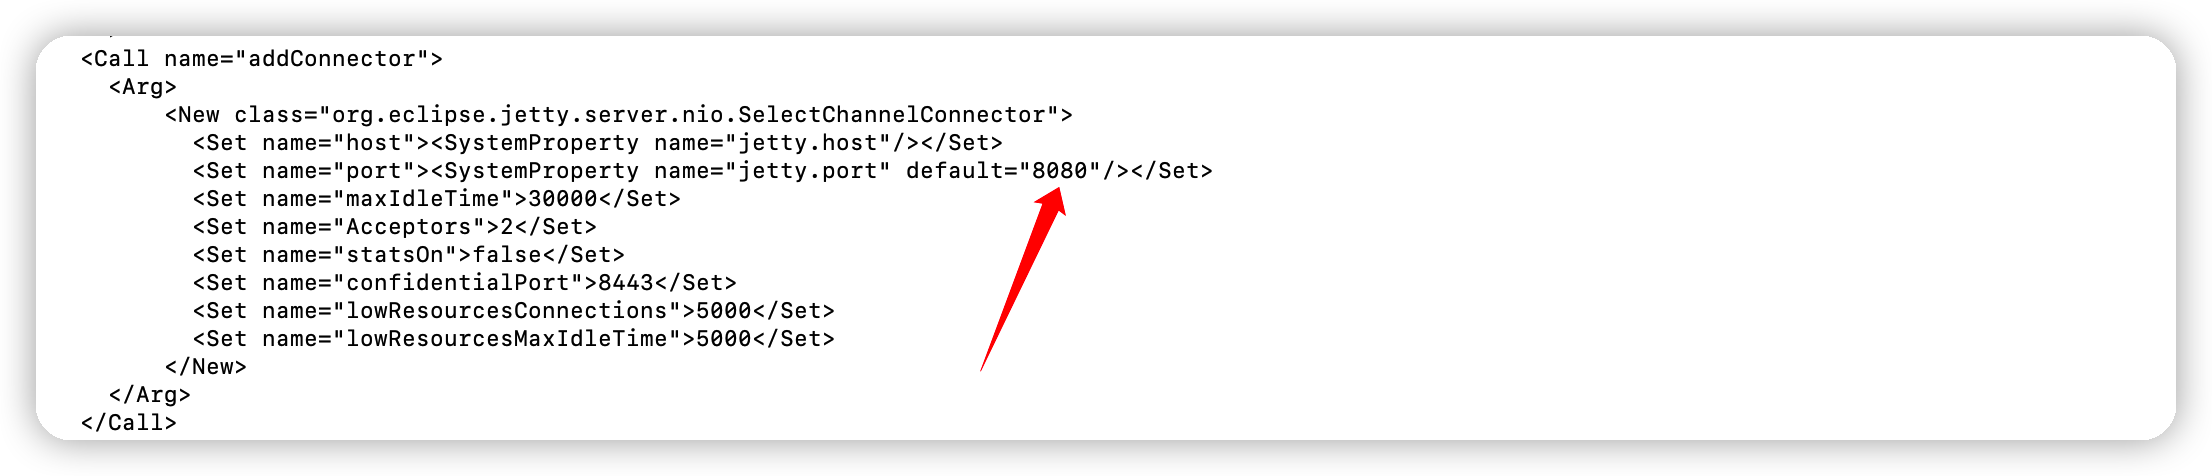
chmod 775 ./apache-archiva-2.2.8修改端口(8080默认),如不需要,请跳过
启动
1
2
3
cd /User/xiaoyuge/maven/apache-archiva-2.2.8/bin
./archiva start #执行启动命令,建议第一次启动使用:./archiva console 可以打印启动信息
./archiva stop #停止命令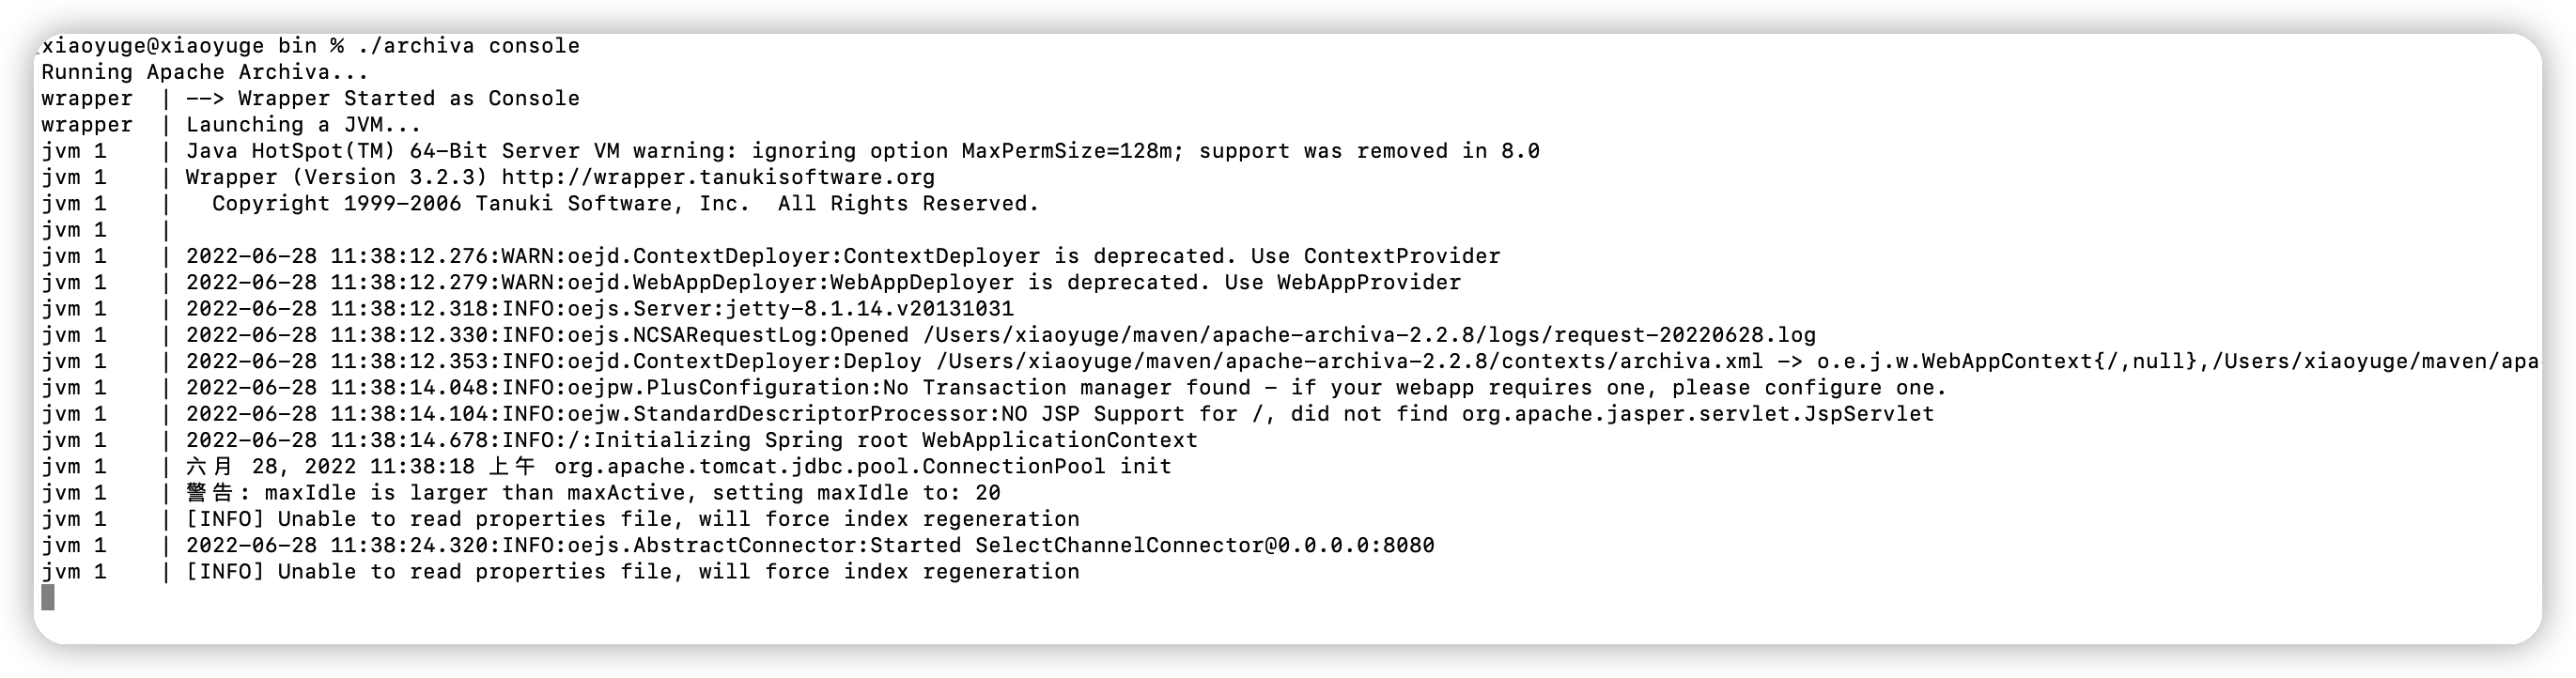
各版本操作系统下详细安装及服务注册参照:http://archiva.apache.org/docs/2.2.8/adminguide/standalone.html
将
archiva在Centos中安装成服务(root执行)1
ln -sf /Users/xiaoyuge/maven/apache-archiva-2.2.8/bin/archiva /etc/init.d/archiva
这样就可以通过
service启动1
2service archiva start
service archiva stop
启动成功后,访问
maven服务器地址: http://ip:8080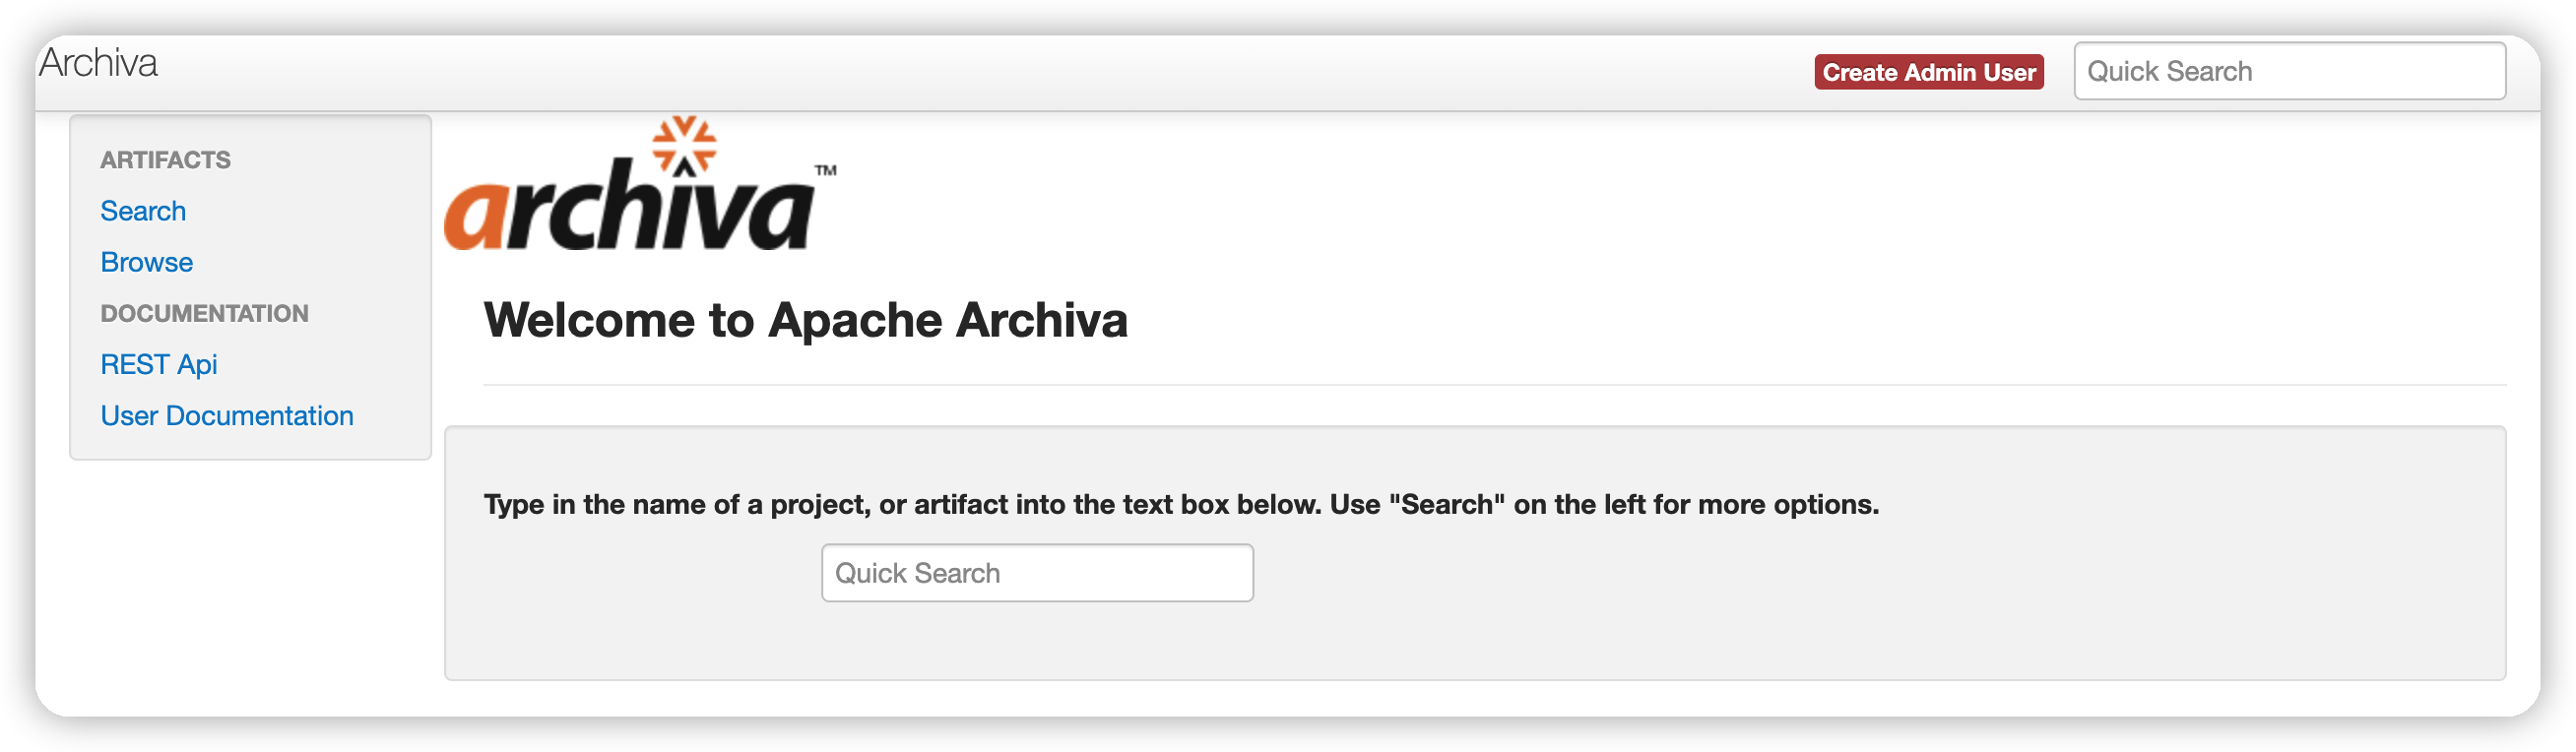
点击右上角的
Create Admin User创建管理员账号
2. 上传私有jar包
访问:http://localhost:8080/#upload,上传私有jar包到仓库
Repository Id选择Archiva Managed Internal Repository则是把依赖作为正式版. 查看地址:http://host:port/repository/internalRepository Id选择Archiva Managed Snapshot则是把依赖作为快照版. 查看地址:http://host:port/repository/snapshots
按照以下步骤依次操作:
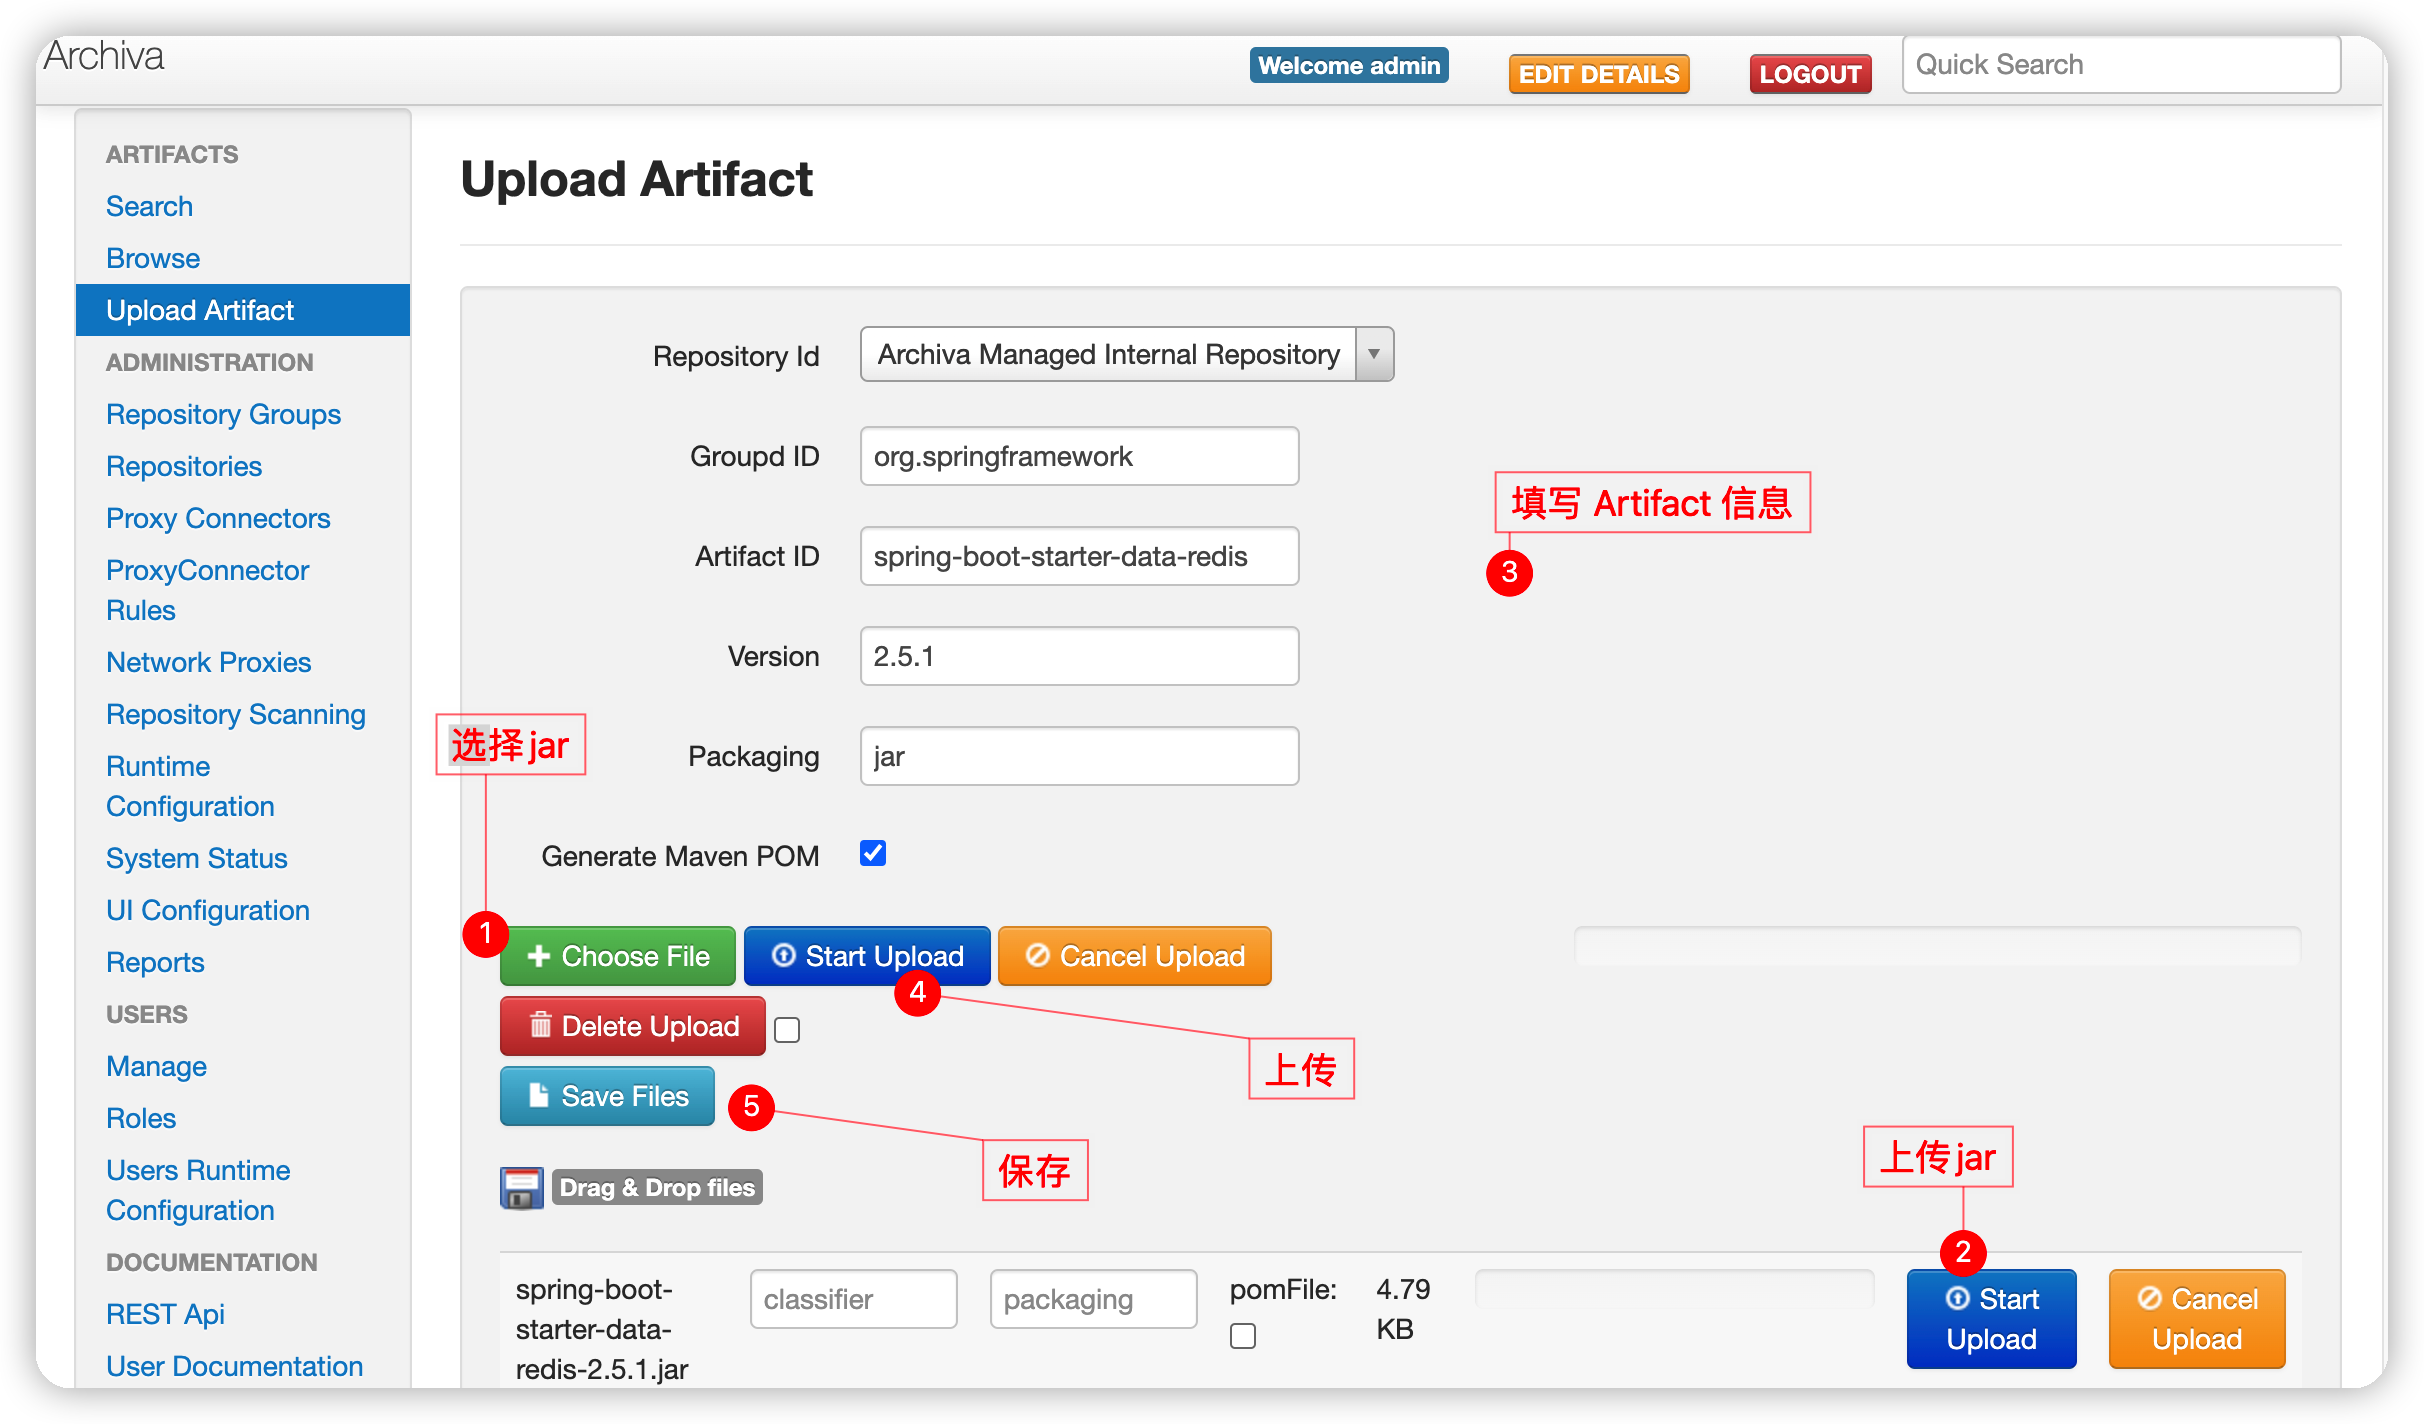
保存后,提示以下信息表示上传成功!

在左侧菜单栏
Browse中查看上传的jar ,如下所示: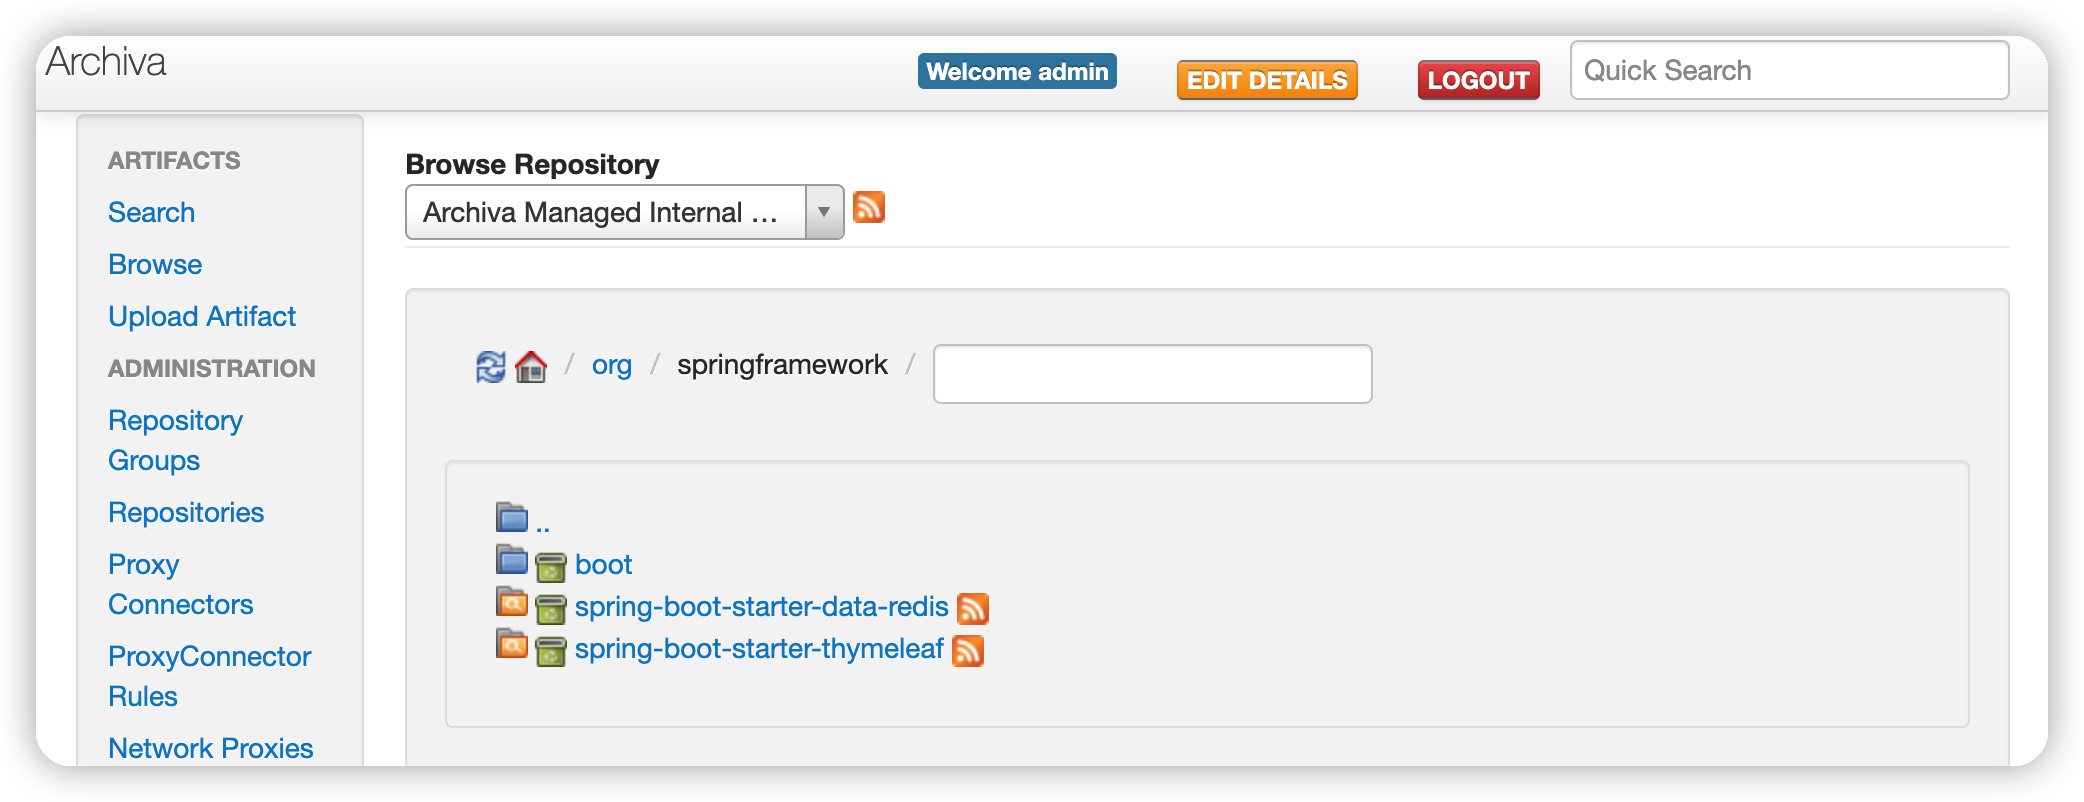
也可以通过命令的方式上传(需要配置maven 的setting.xml)
在
/Users/xiaoyuge/Desktop有一个junit-4.13.2.jar,使用mvn deploy命令上传如下1
mvn deploy:deploy-file -Dfile=/Users/xiaoyuge/Desktop/junit-4.13.2.jar -DrepositoryId=archiva-releases -DgroupId=junit -DartifactId=junit -Dversion=4.13.2 -Durl=http://localhost:8080/repository/internal
命令解释:
- -Dfile :要上传到私服的jar包, jar包全路径
- -DrepositoryId: 仓库ID,要与maven 的setting.xml配置文件中的server一致,否则401;
- -DgroupId: groupId主包名
- -DartifactId: 项目名
- -Dversion:版本号
- -Durl:远程仓库地址
上传结果如下如所示:
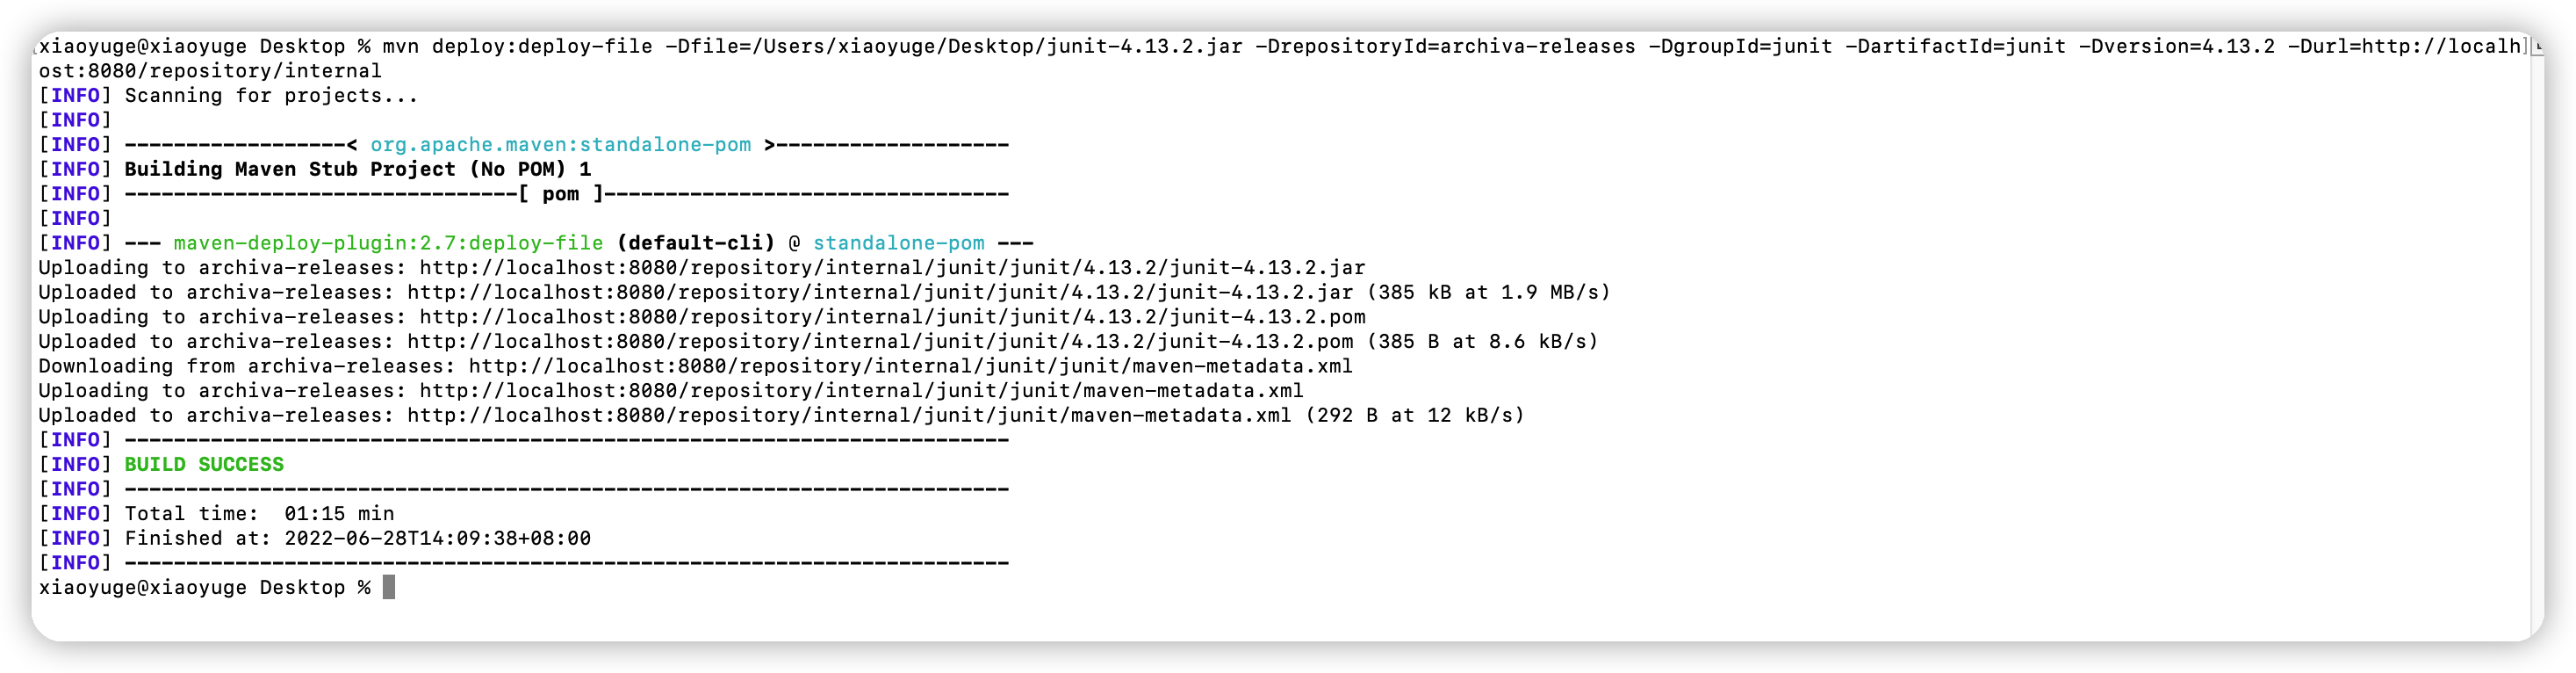
同时在私服仓库中可以查看到刚上传的
jar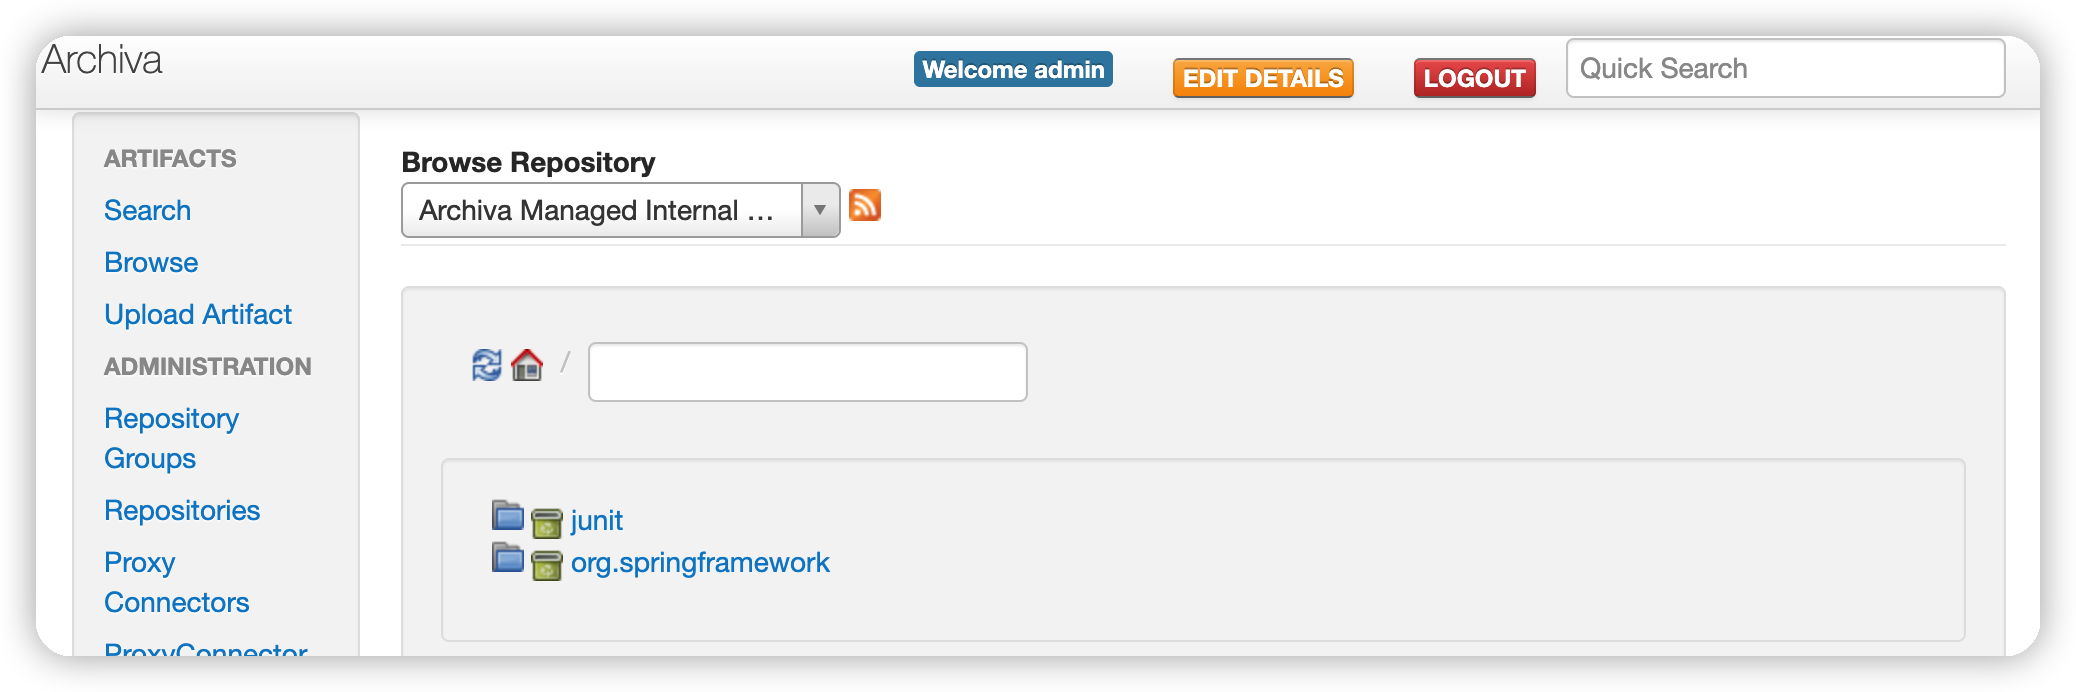
3. 项目使用
配置maven中的setting.xml文件,配置如下:
1 | <settings xmlns="http://maven.apache.org/SETTINGS/1.0.0" xmlns:xsi="http://www.w3.org/2001/XMLSchema-instance" xsi:schemaLocation="http://maven.apache.org/SETTINGS/1.0.0 http://maven.apache.org/xsd/settings-1.0.0.xsd"> |

